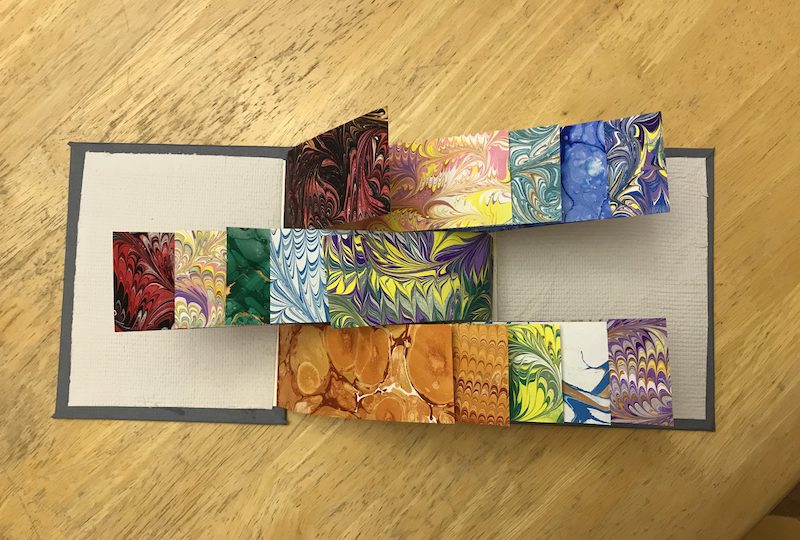
Paper marbling is by far my favorite arts and crafts activity. You can buy a paper marbling kit or make due with the supplies you have lying around the house. You can research old-school techniques and patterns or go crazy and experiment. The end results are always fantastic.
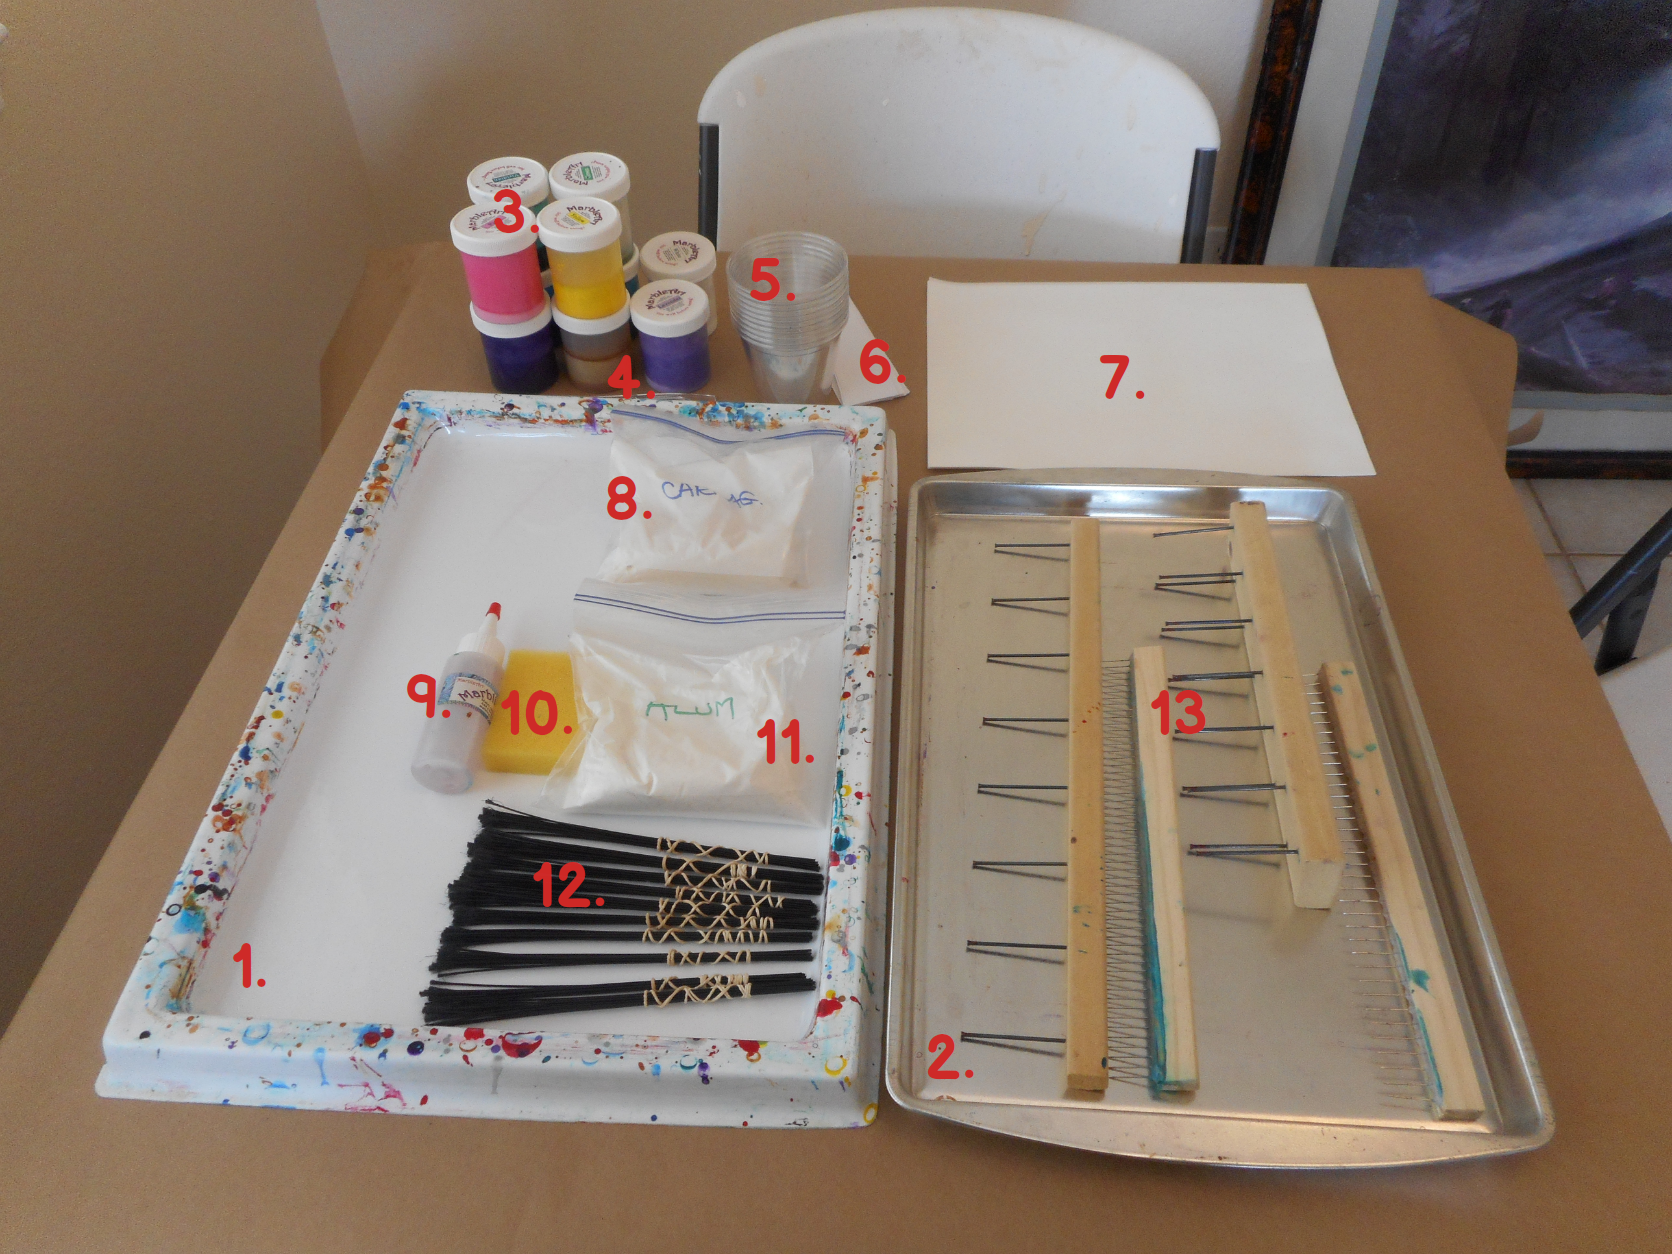
Supplies:
- Tray for marbling
- Tray for rinsing marbled paper
- Acrylic paints
- Small stick (or in my case a plastic fork)
- Containers to mix paint
- Strips of paper for clean up
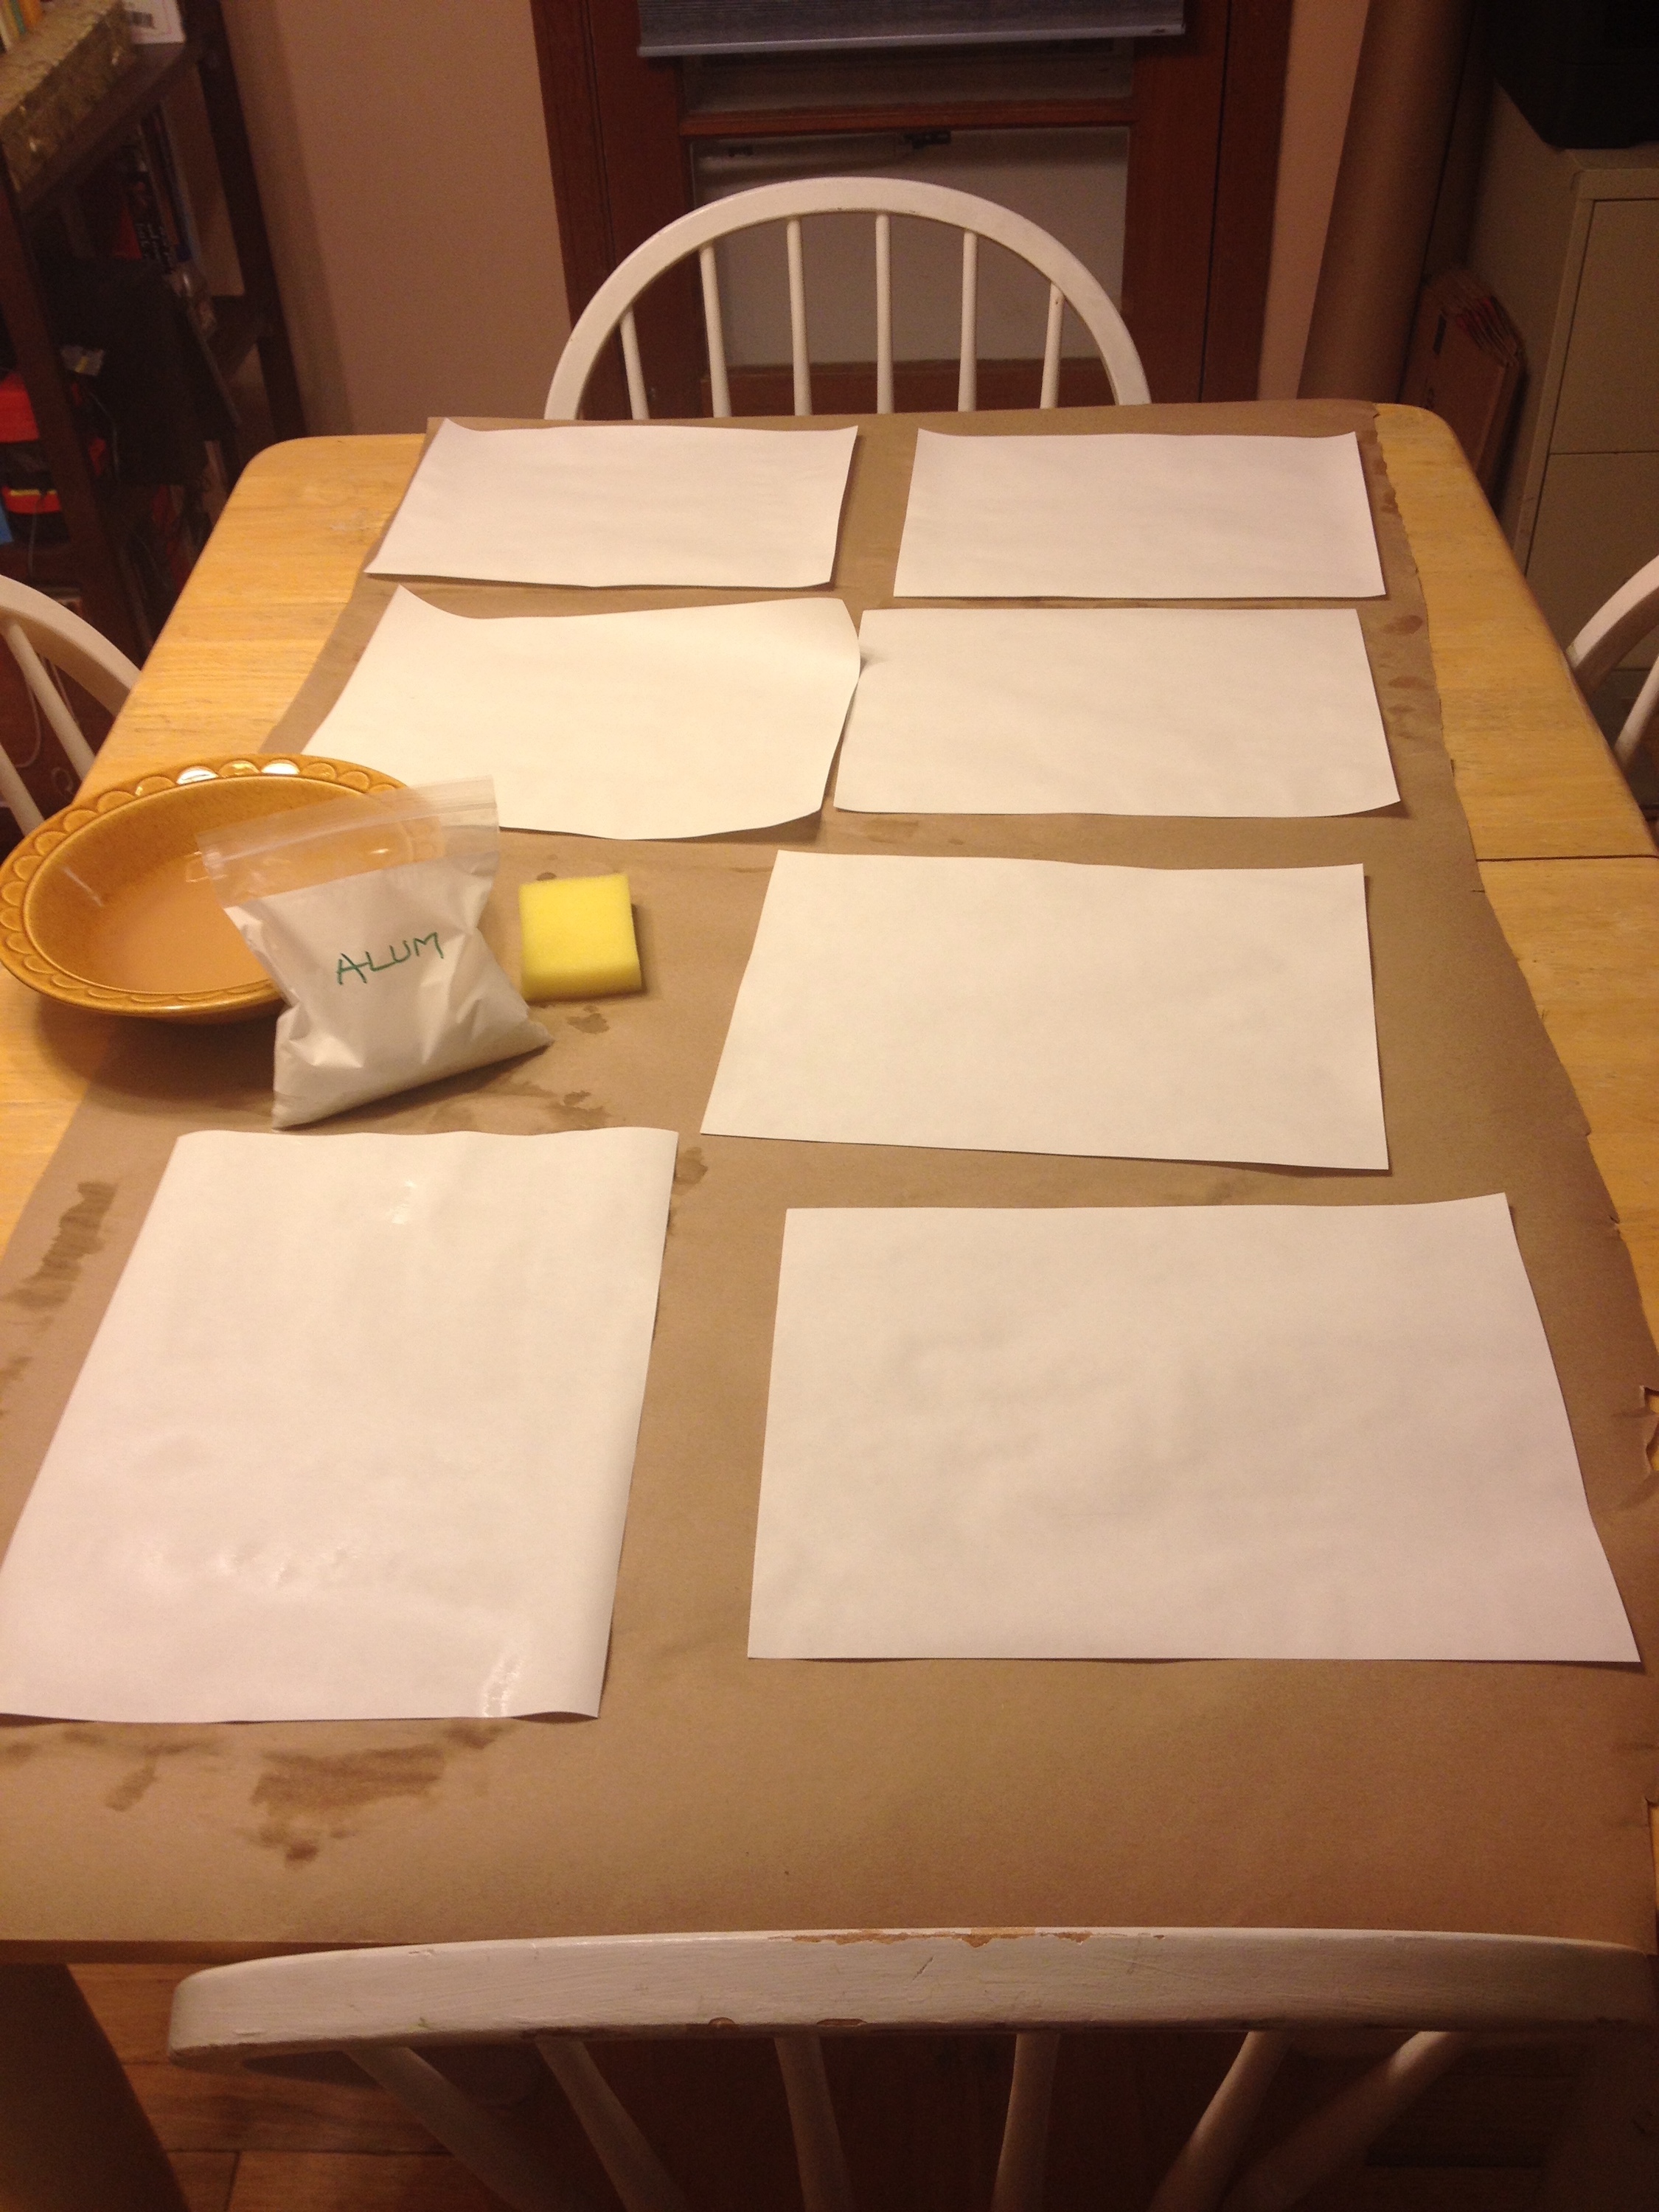
- Paper
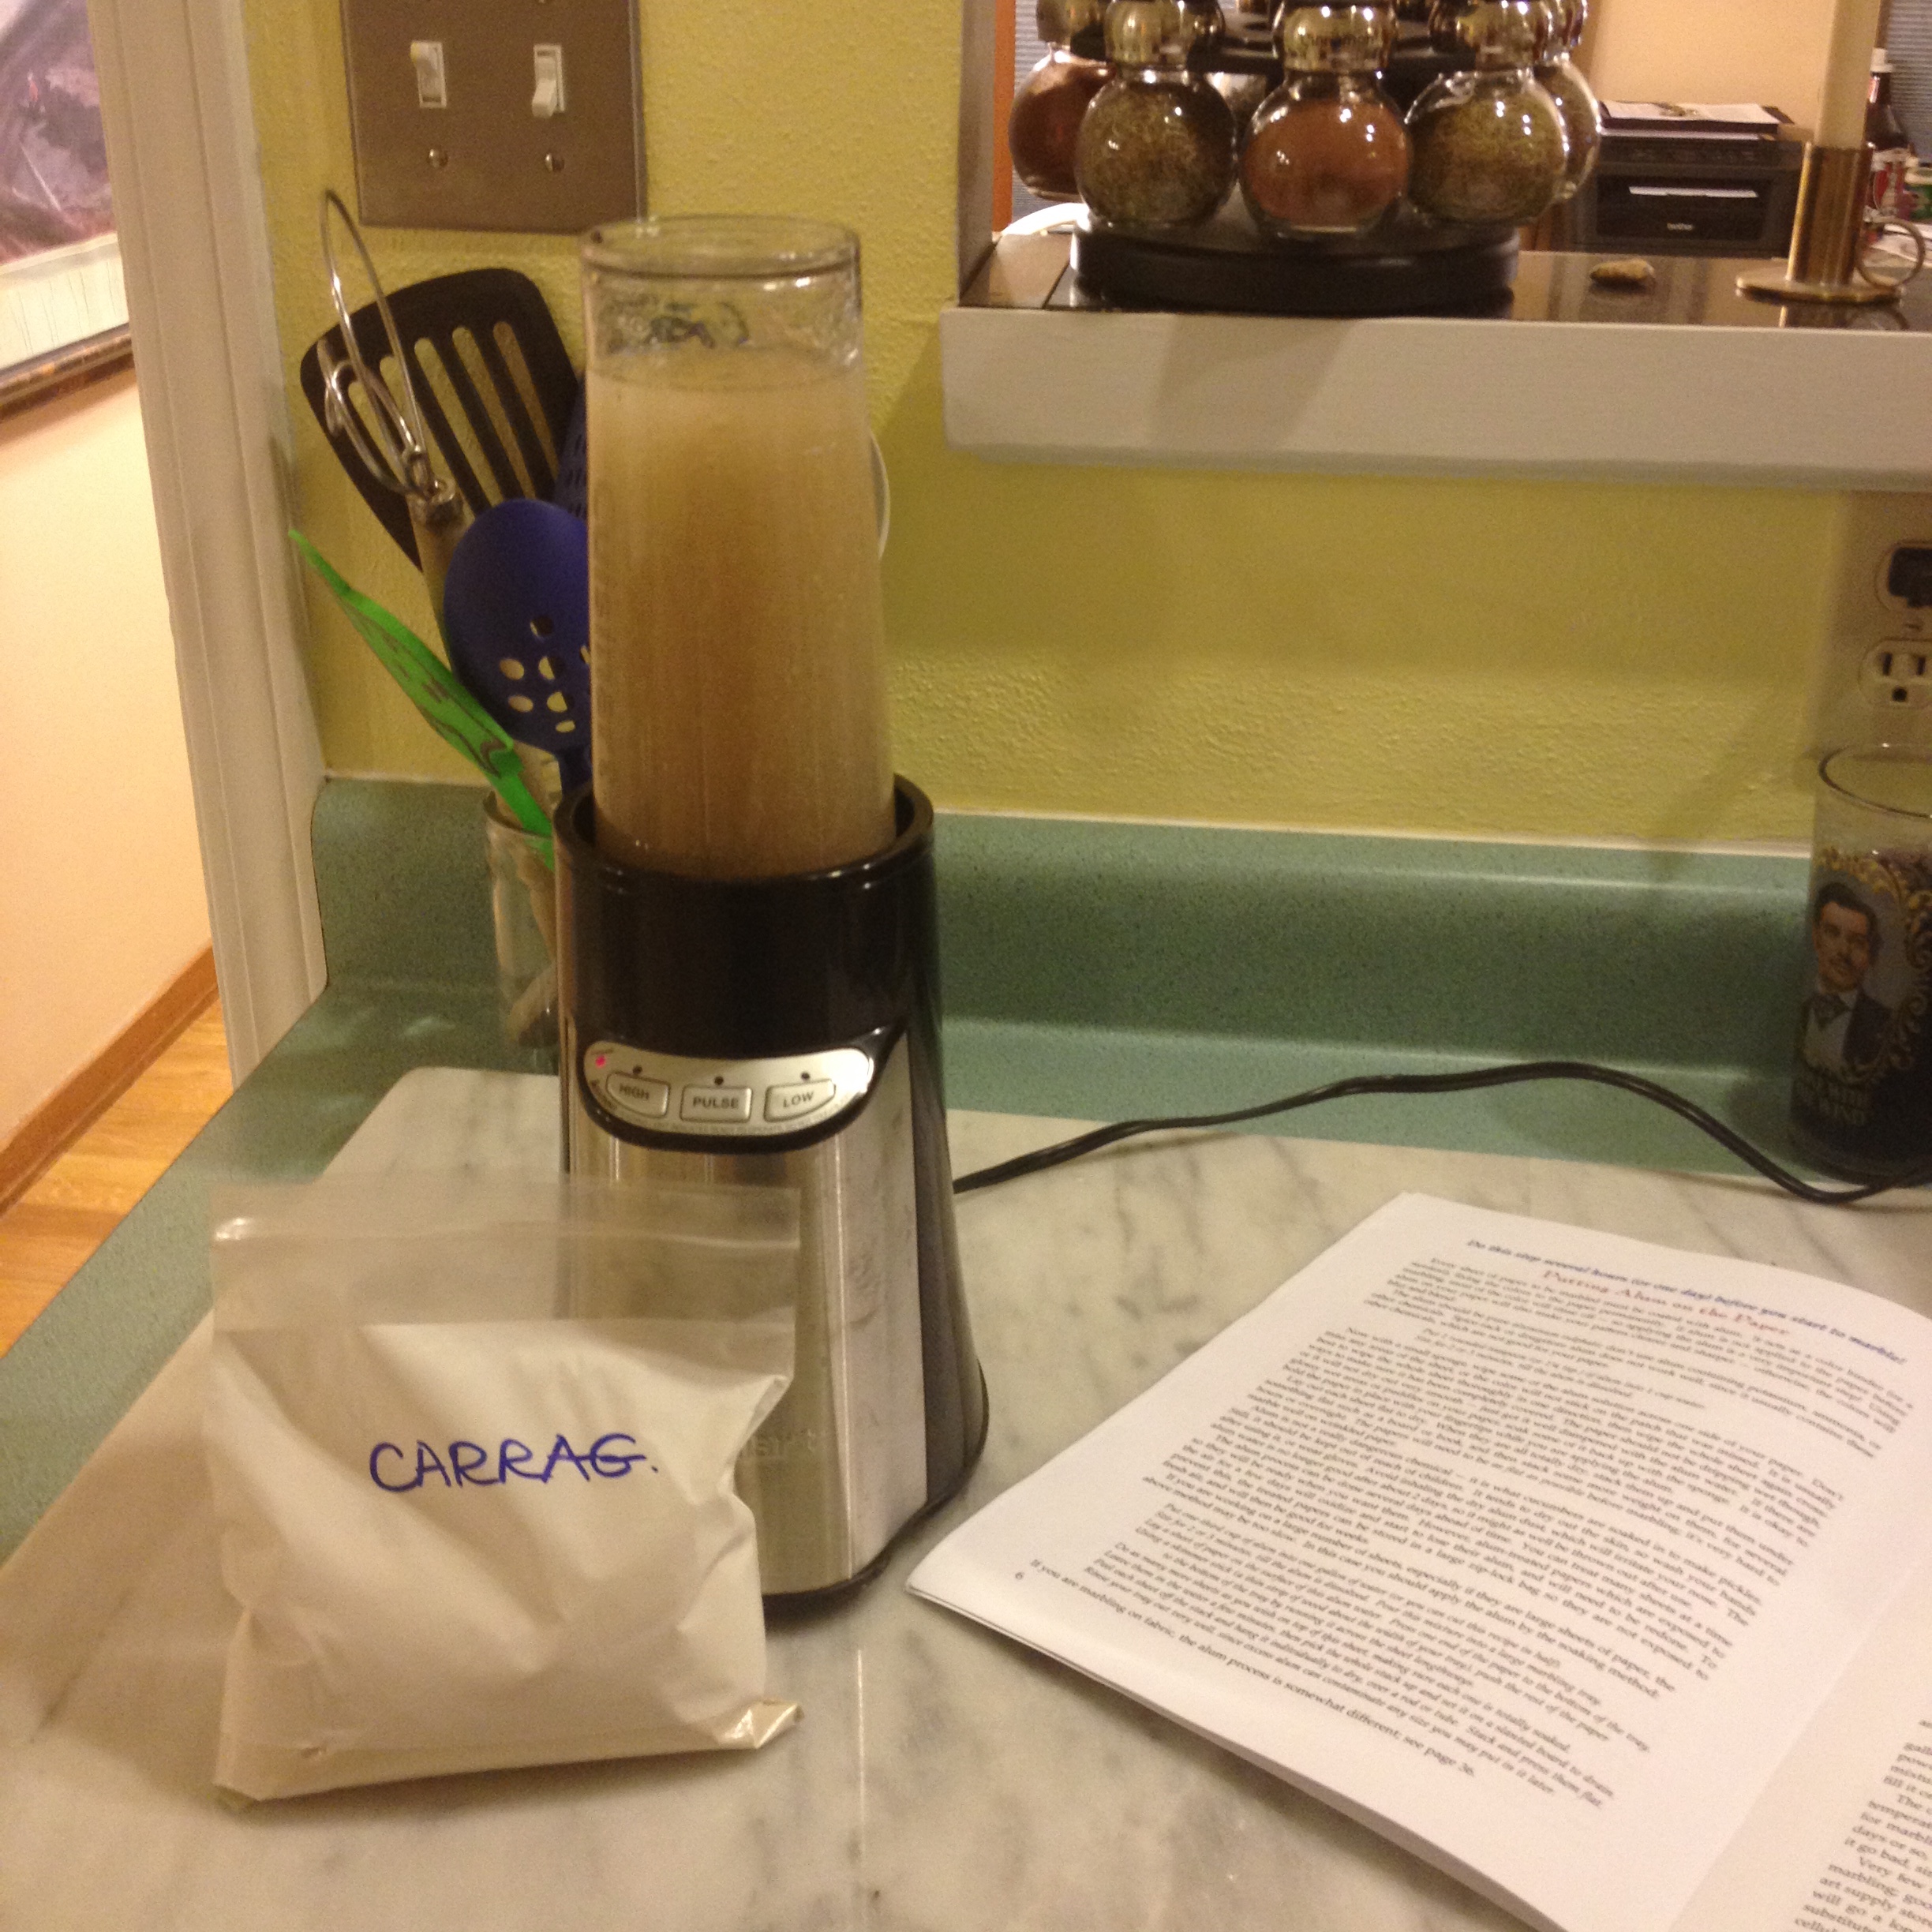
- Carrageenan
- Gall
- Sponge
- Alum (Aluminum Sulphate)
- Brushes
- Combs
Preparation:
- Blend 1 tablespoon and 1 teaspoon carrageenan powder into ~½ gallon of water. Let the gel mixture sit for a few hours or overnight until the bubbles pop.
- Dissolve 1 teaspoon of alum into 1 cup of water. Use the sponge to wipe the mixture onto the paper that will be used for marbling. Let paper dry completely.
- Dilute paints in separate containers. 1 part paint to 3 parts water.
Marbling:
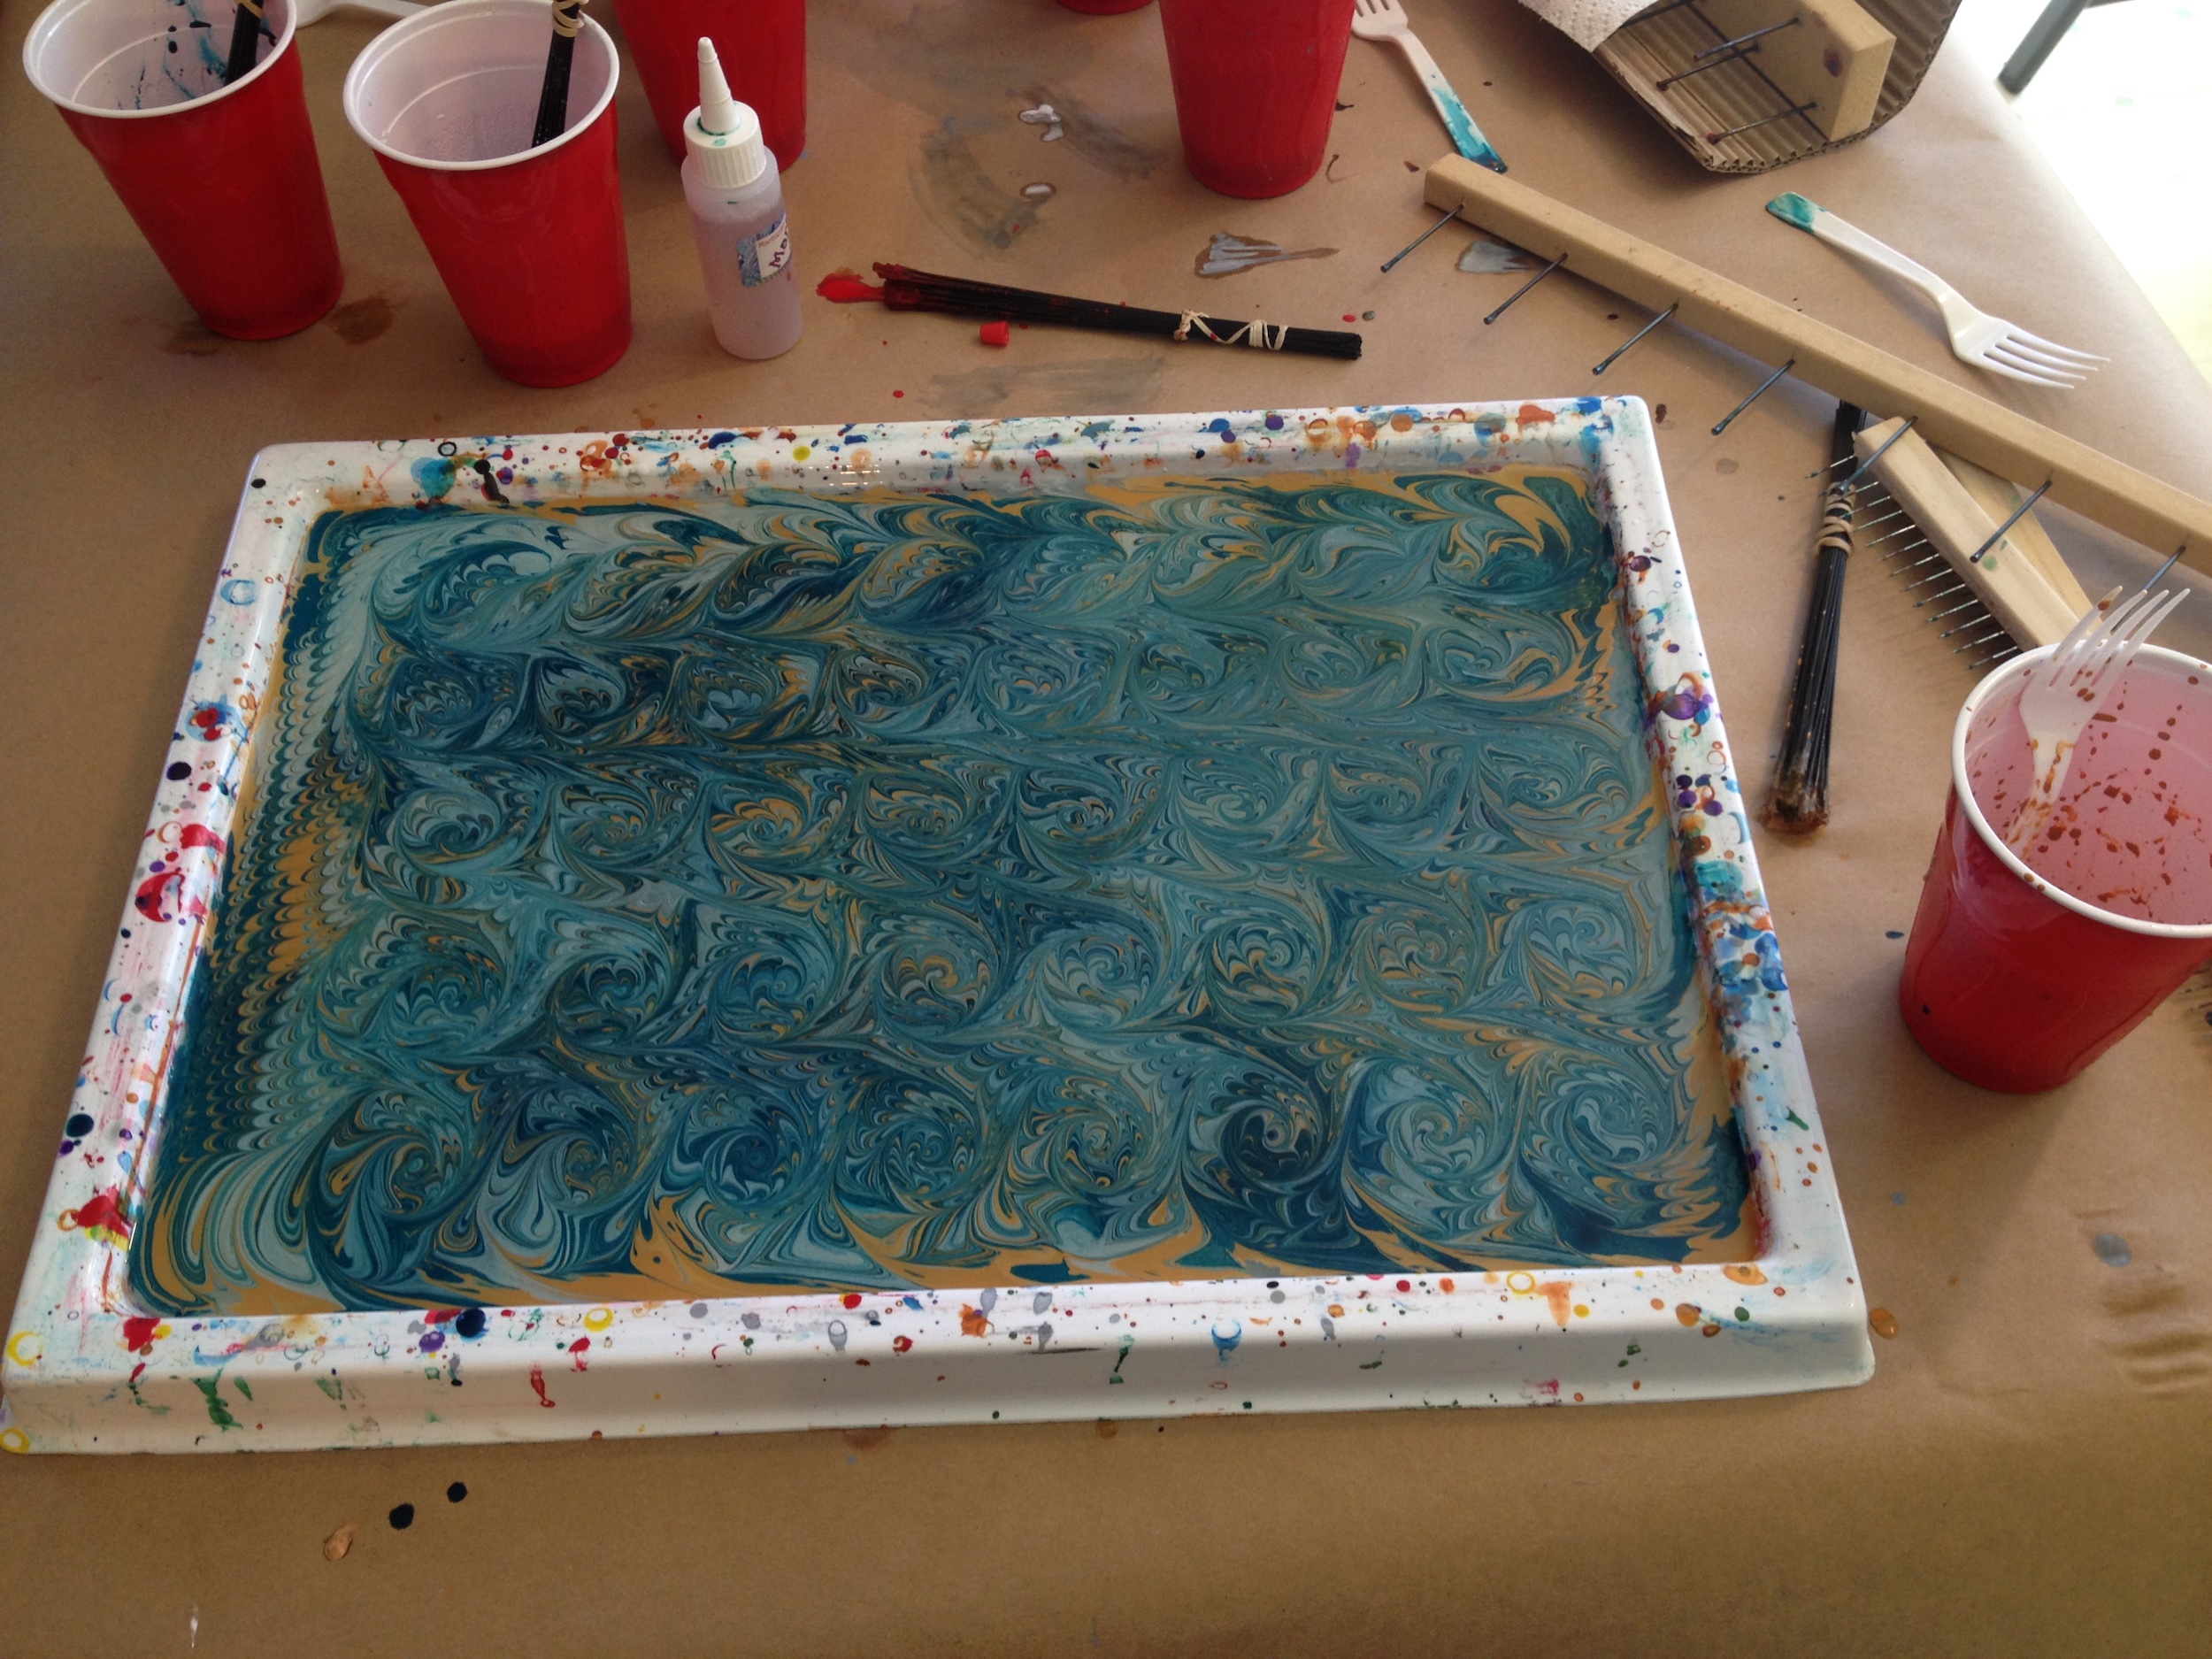
- Pour the gel mixture into the tray for marbling.
- Use the brushes to add drops of paint to the top of the gel mixture. If you want the color to spread out more on the surface of the gel, add one or two drops of gall to the paint.
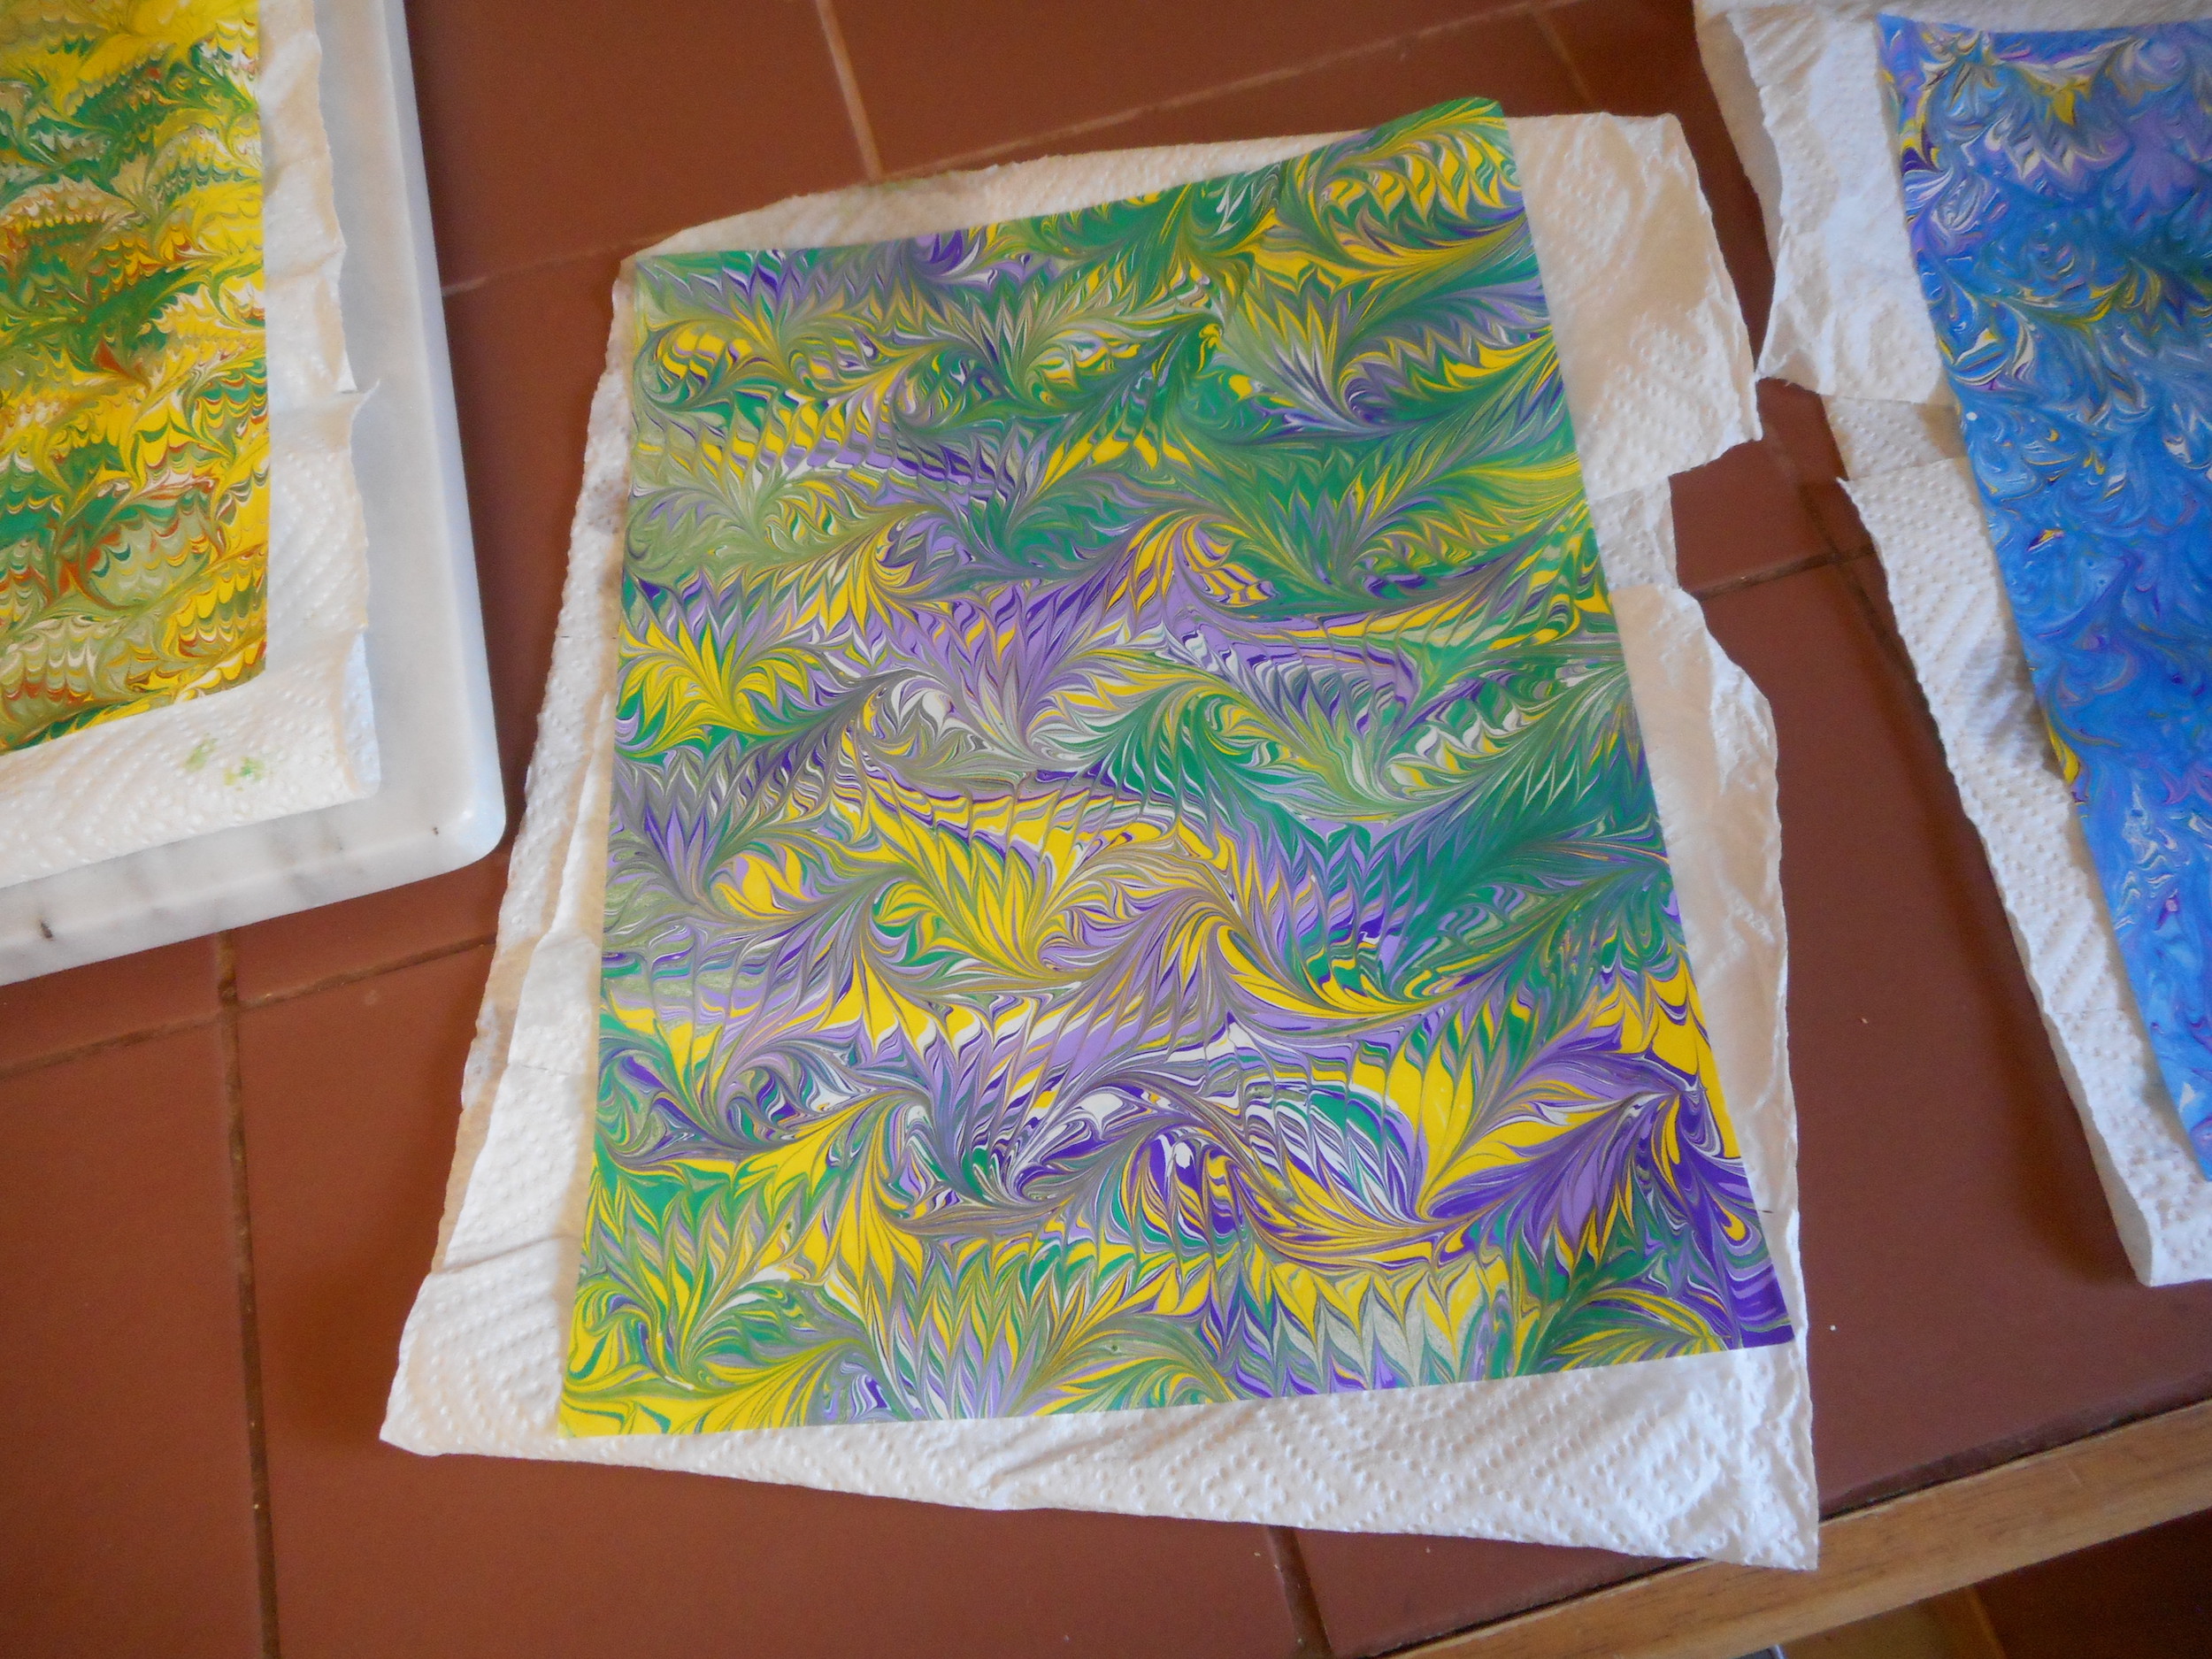
- If you want to create a pattern using your combs, first spread out the paints with the small stick. Move the stick through the gel back and forth horizontally as seen in the video. Then use the combs to create your pattern.
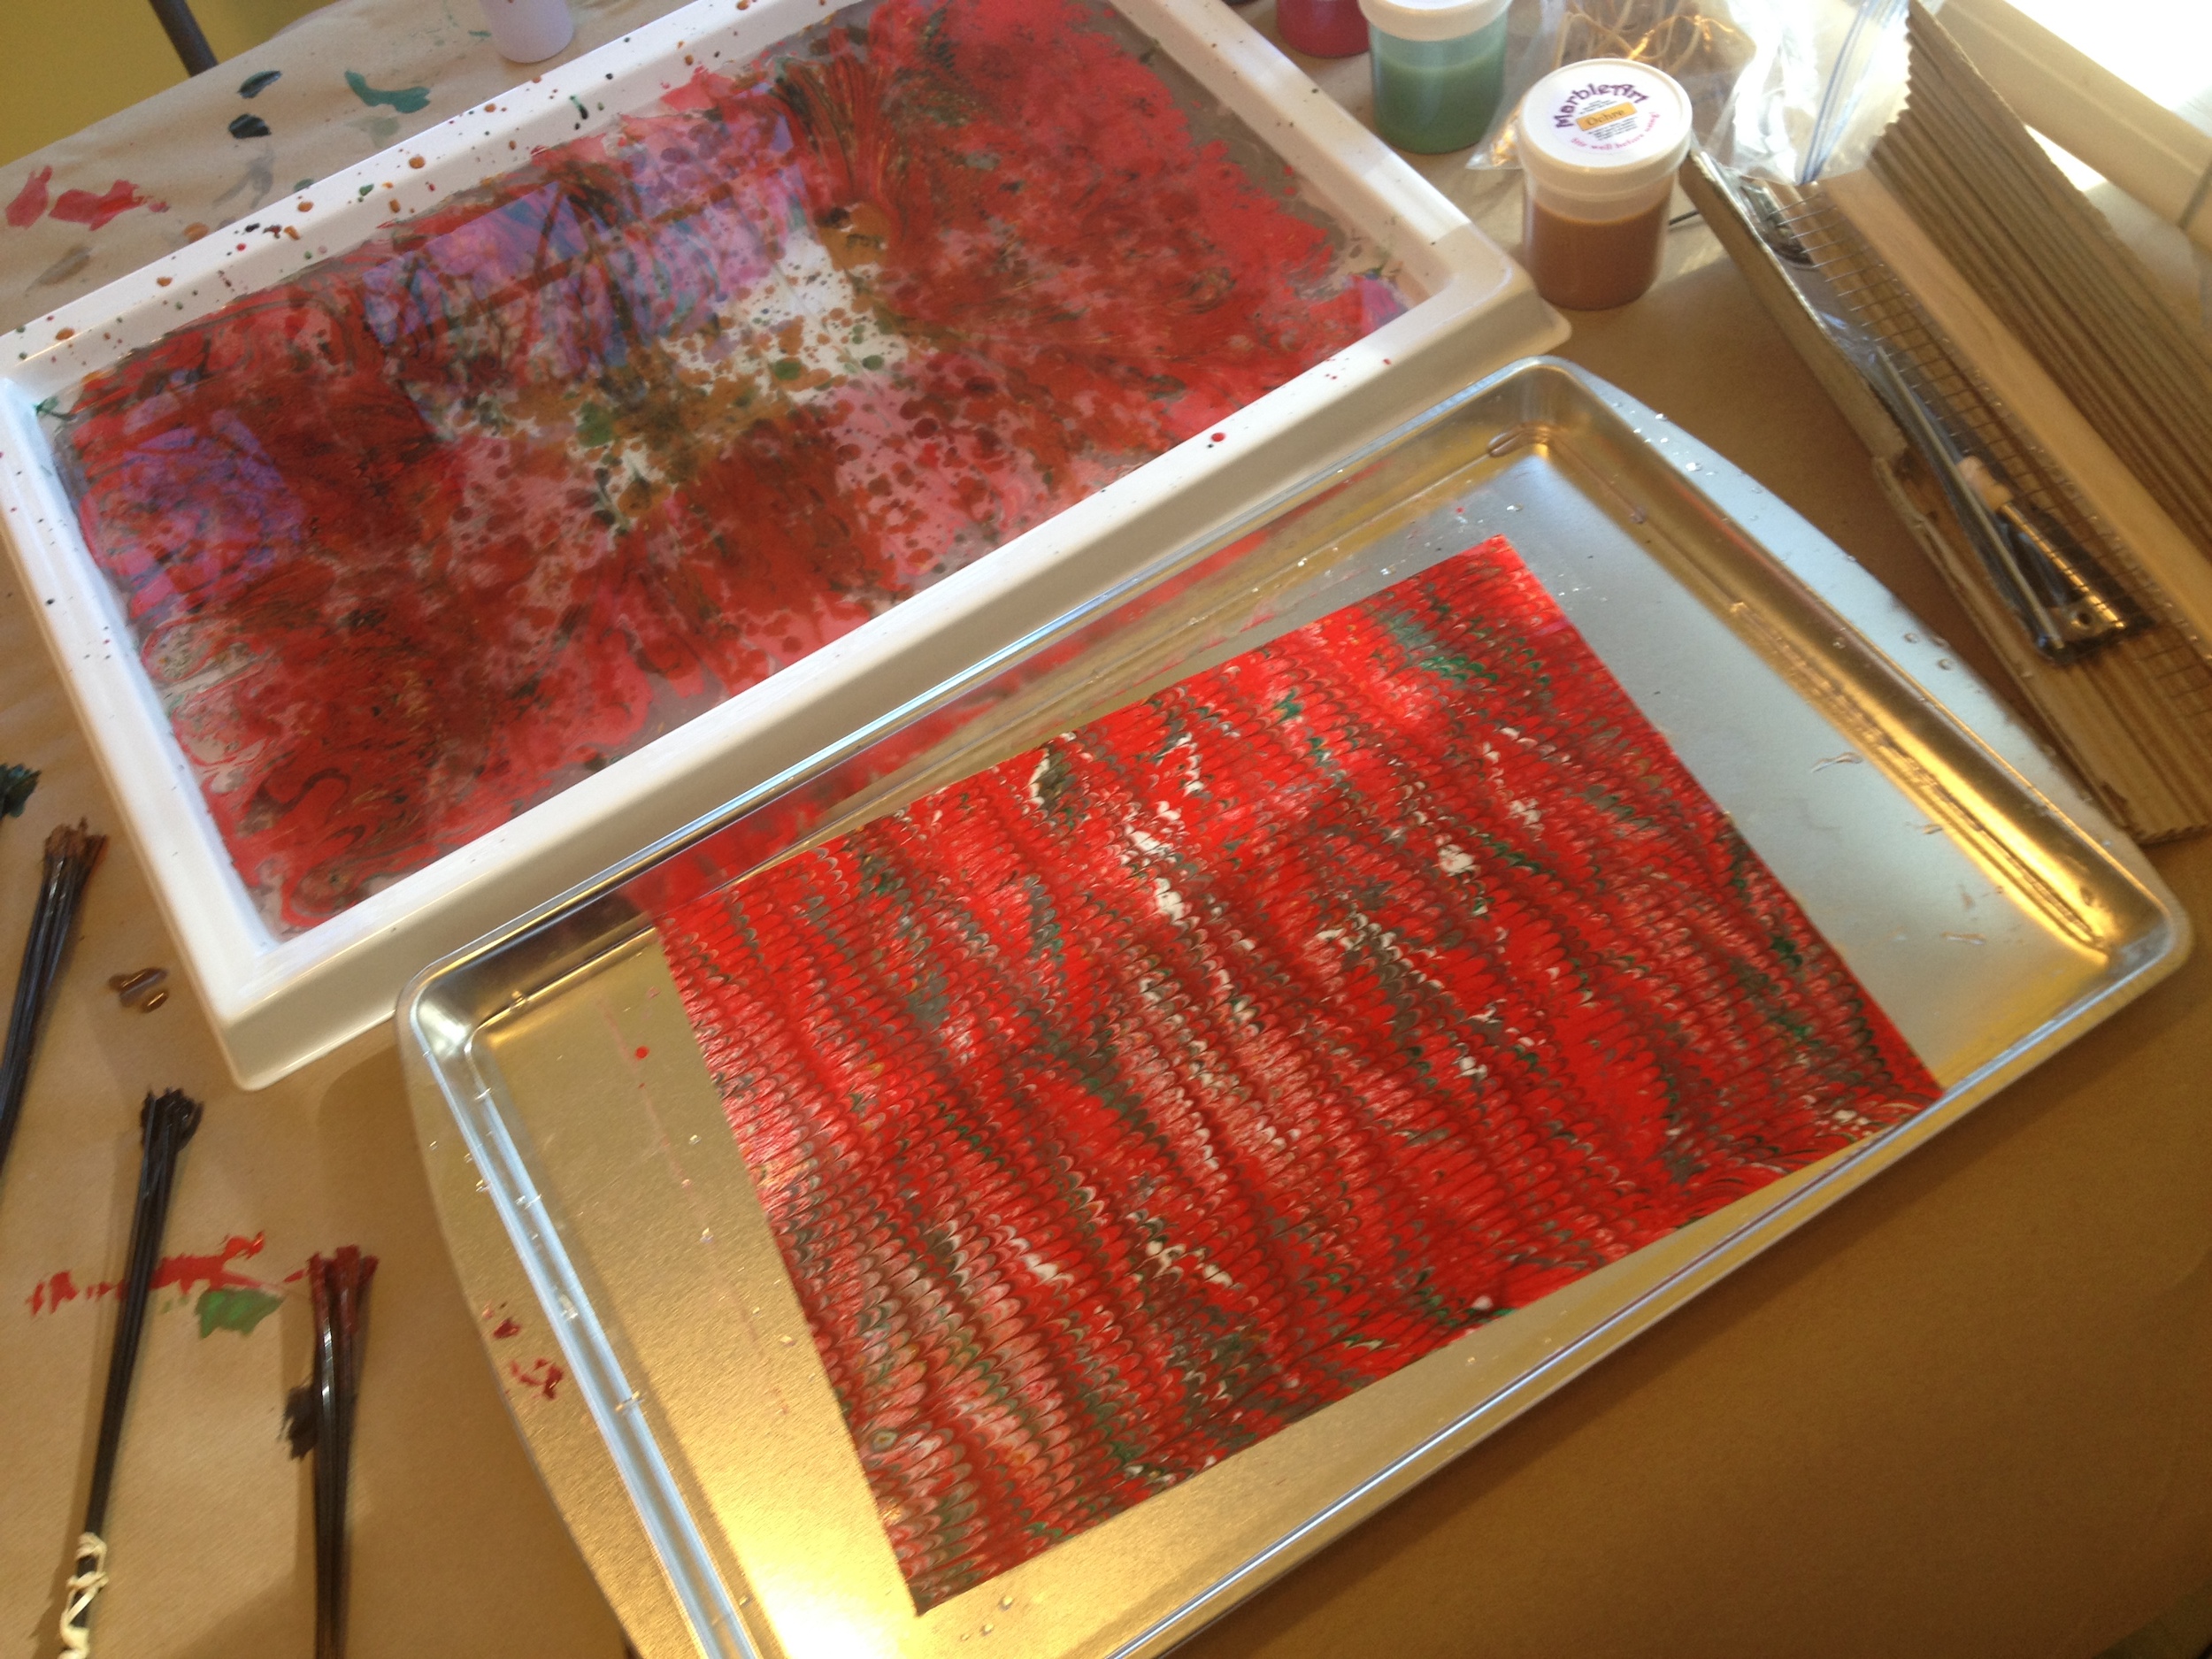
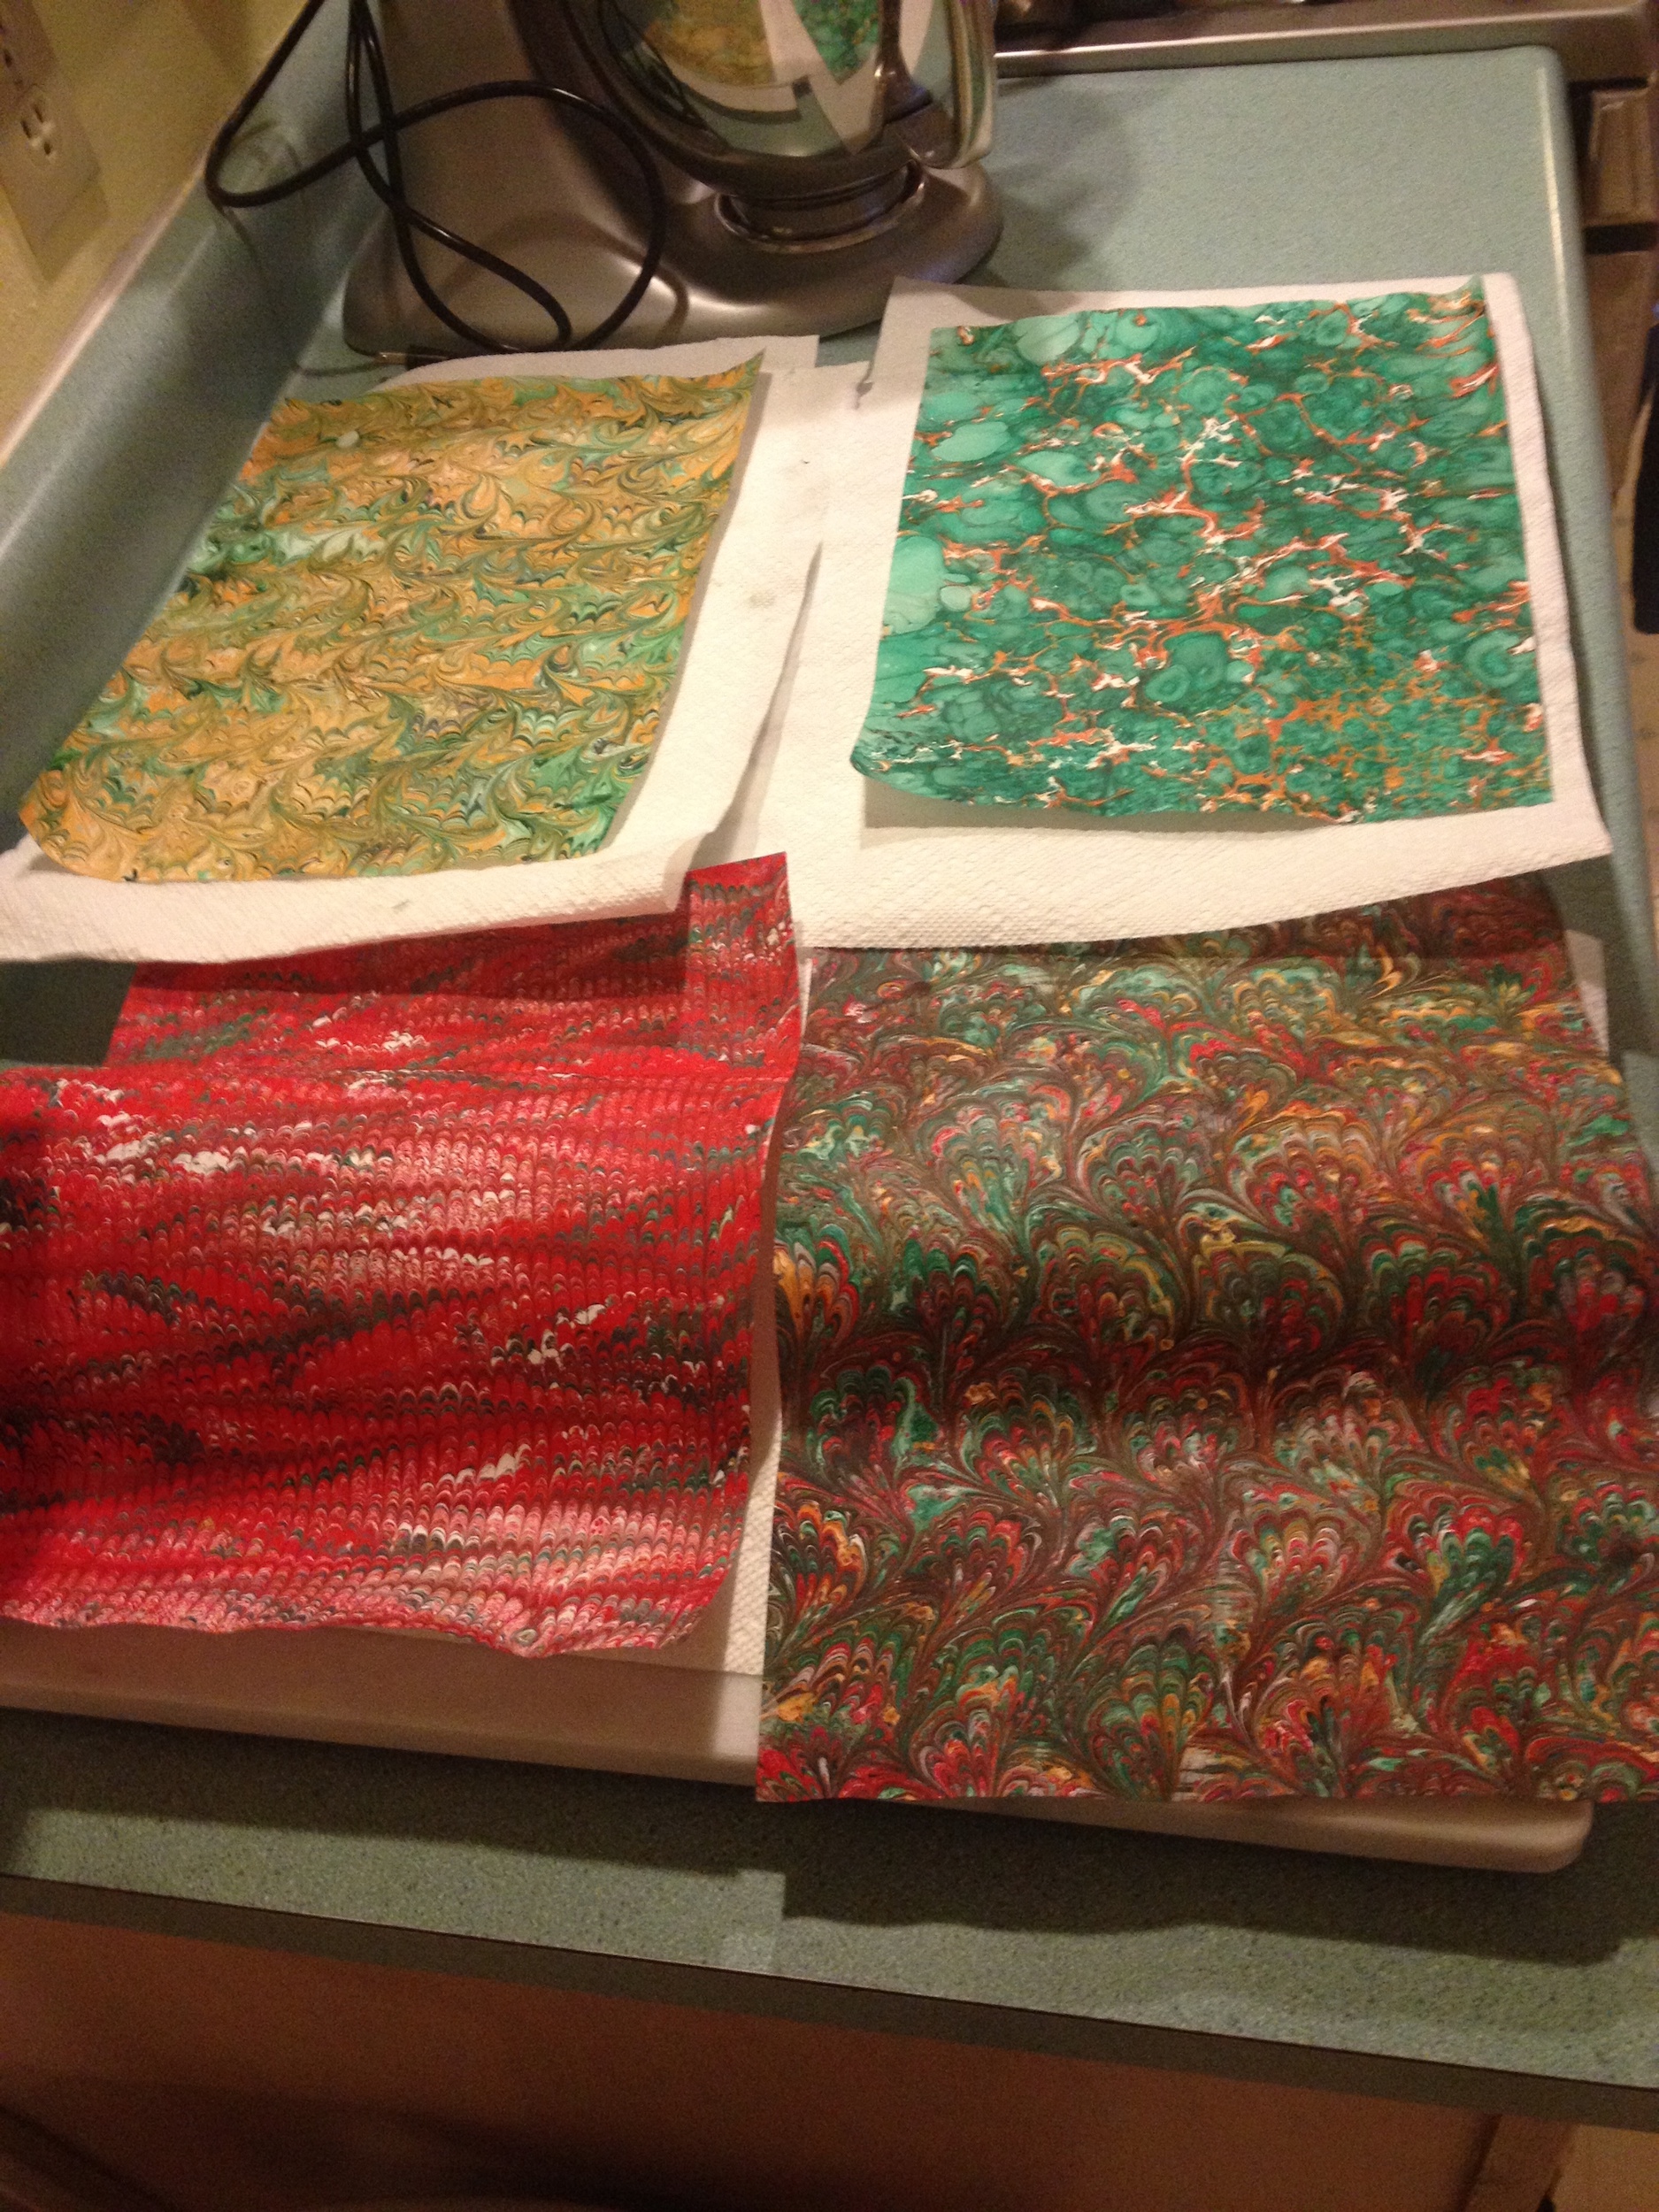
- Lay your paper on top of the gel mixture with the alum side facing down starting with one corner to the opposite corner, then letting the remaining corners lay on the gel mixture.
- Remove the paper and place on your rinsing tray pattern side up.
- In the sink, use cold water to lightly rinse off the excess paint from the paper.
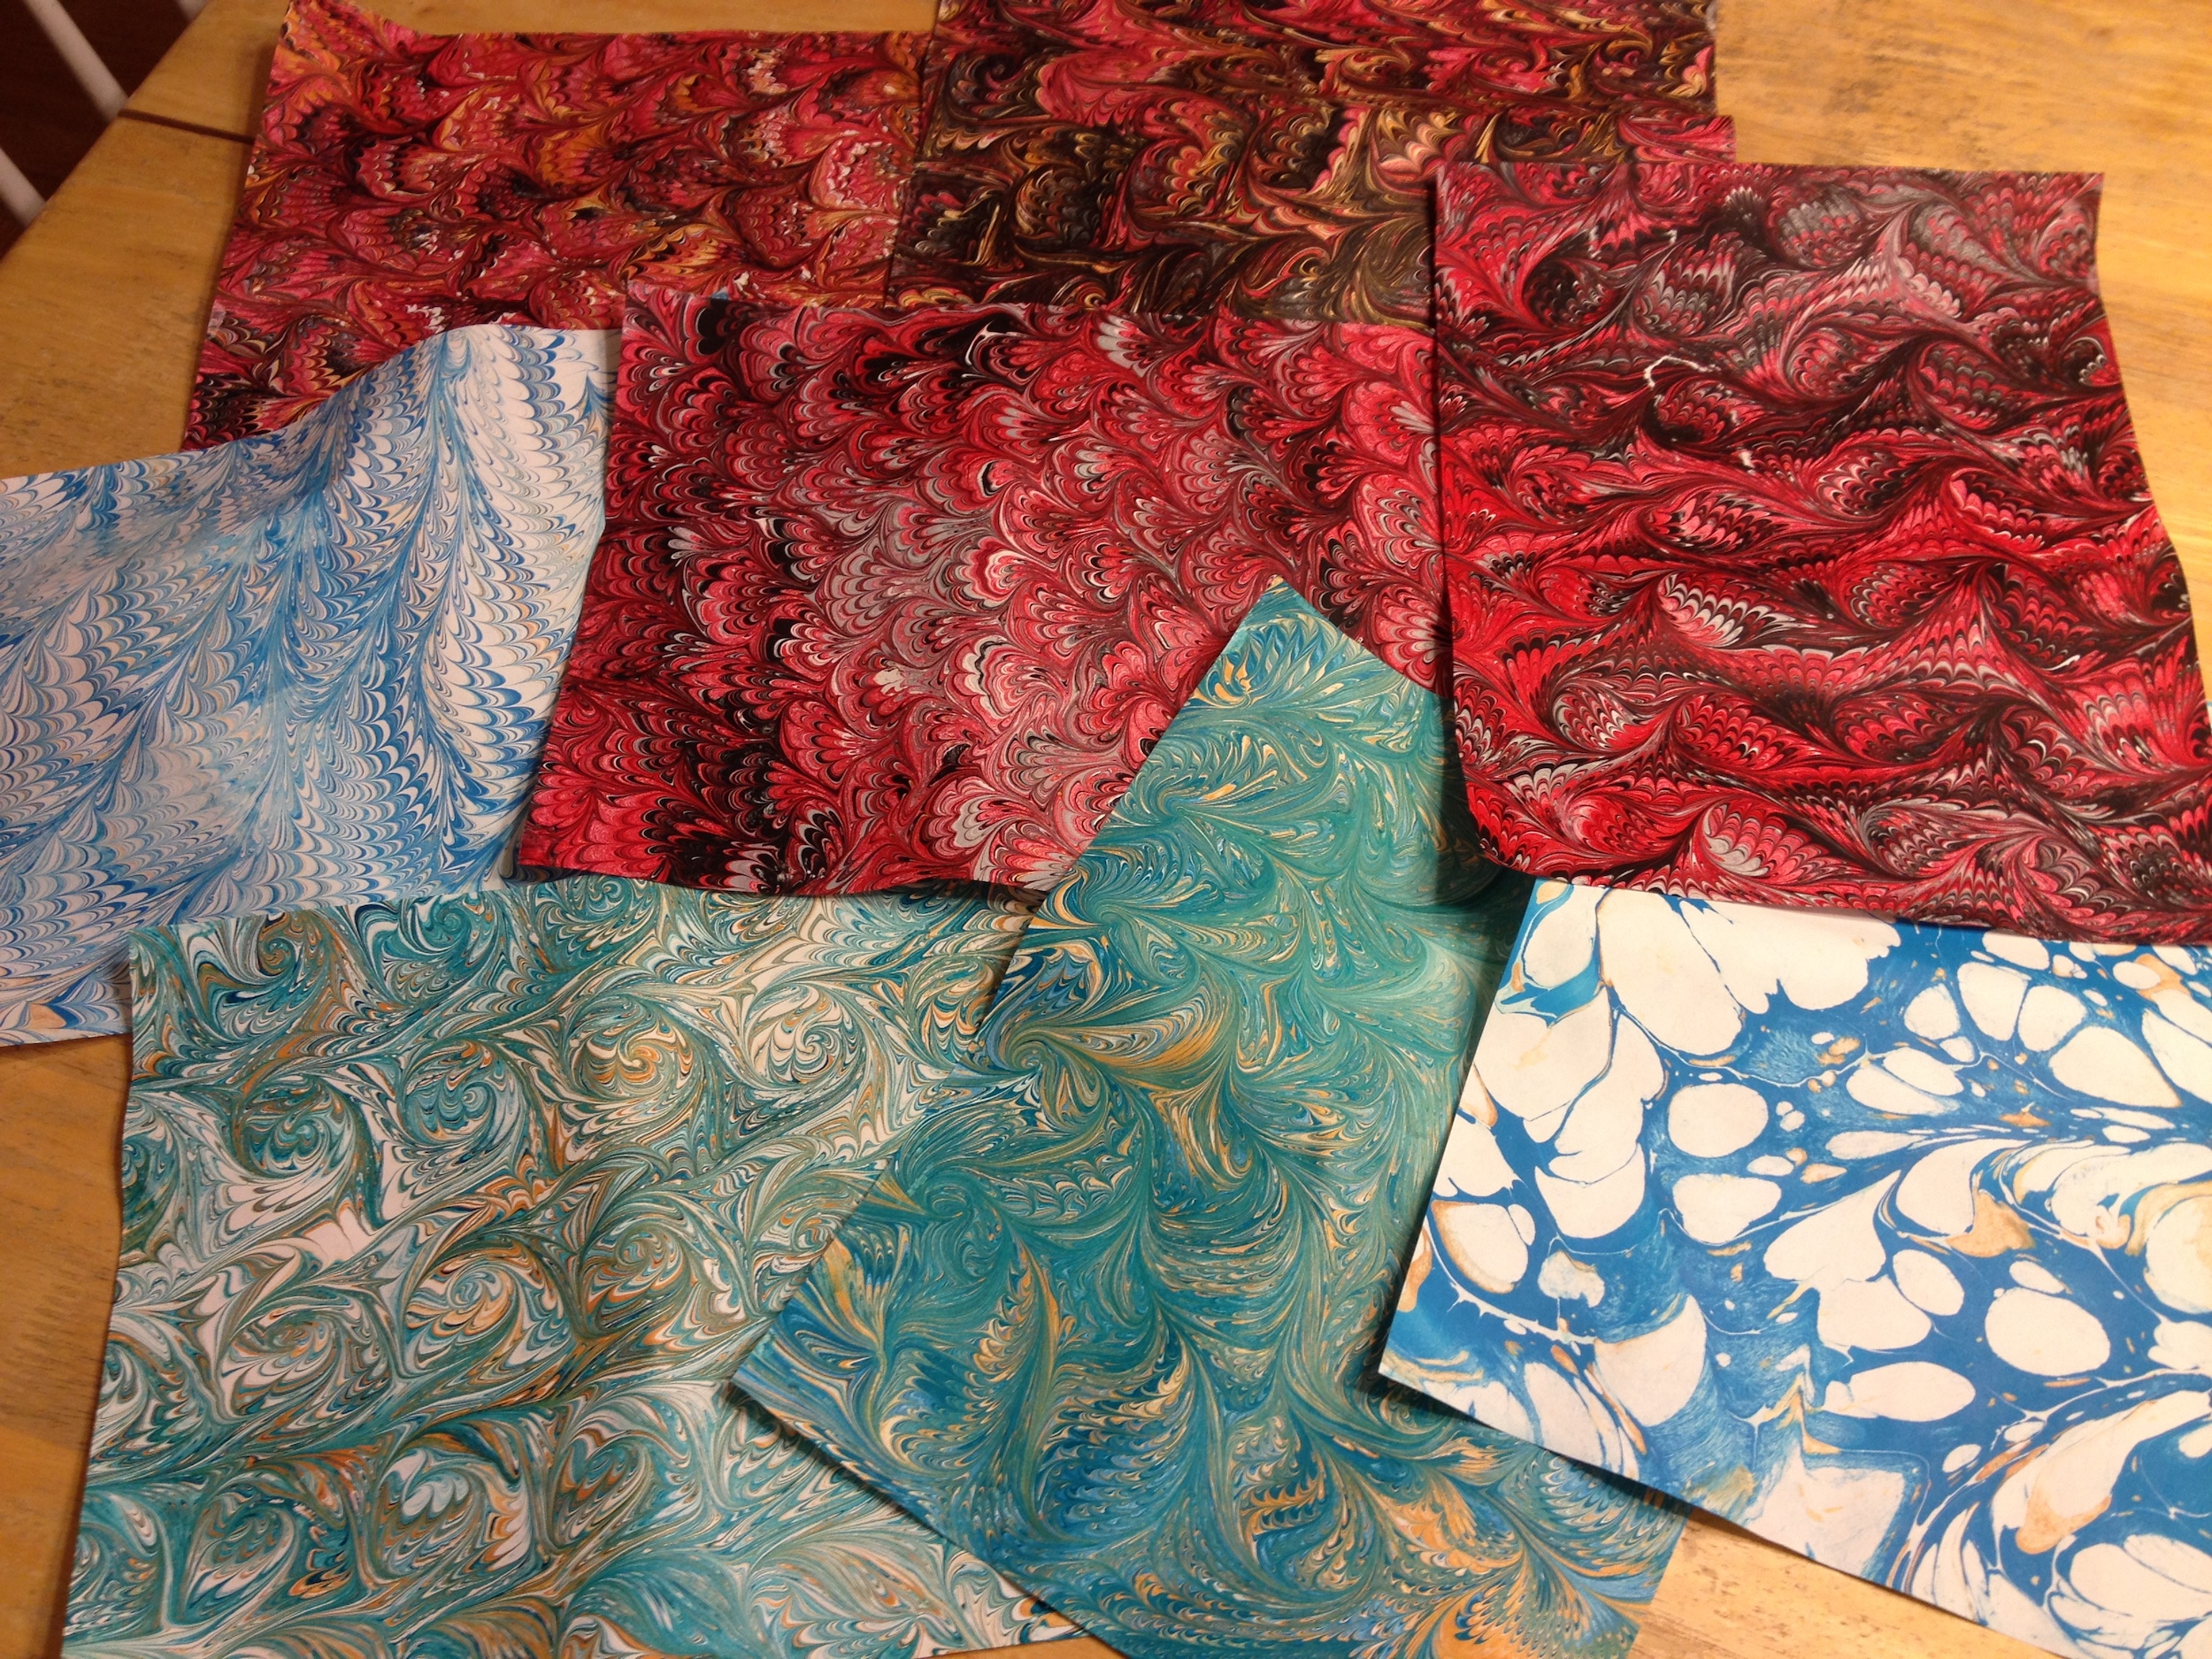
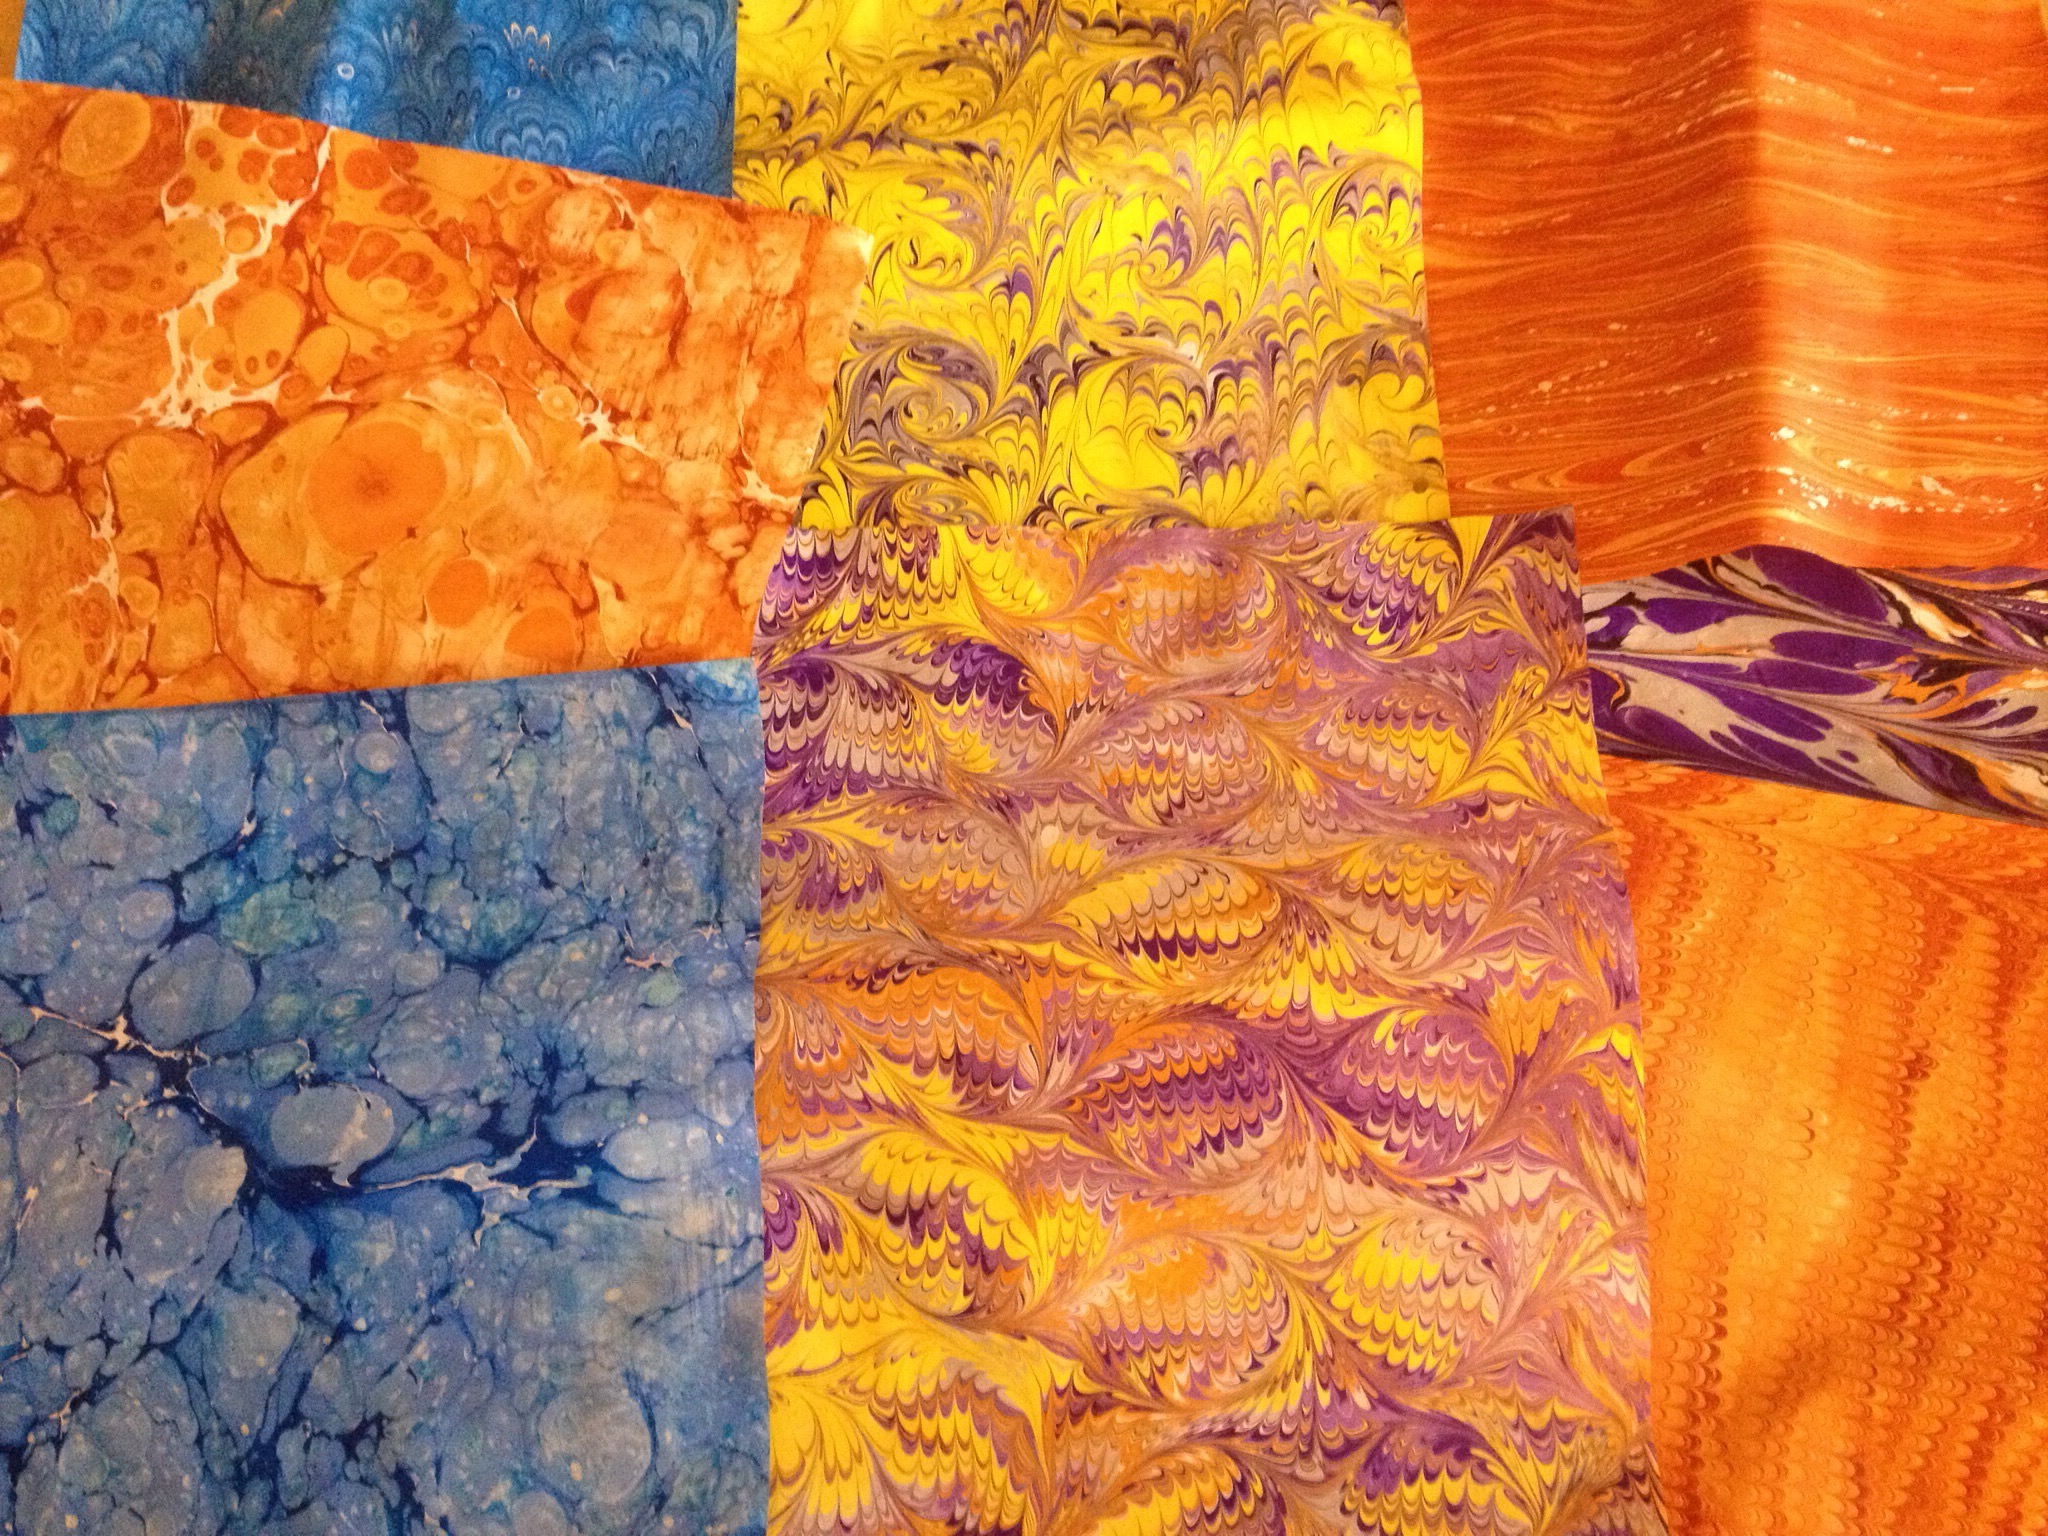
- Dry the paper on top of paper towels or a drying rack.
Clean Up:
- Use the strips of paper to remove the remaining paint from the top of the gel mixture. You can reuse the gel mixture ~5 times.